To say that my mind has been blown by attending the Bodice fitting masterclass with Elisalex of By Hand London pattern company is an understatement!
Last weekend I spent 2 days with a fabulous group of people, in a fabulous location, with an even more fabulous teacher and I couldn’t be buzzing more!
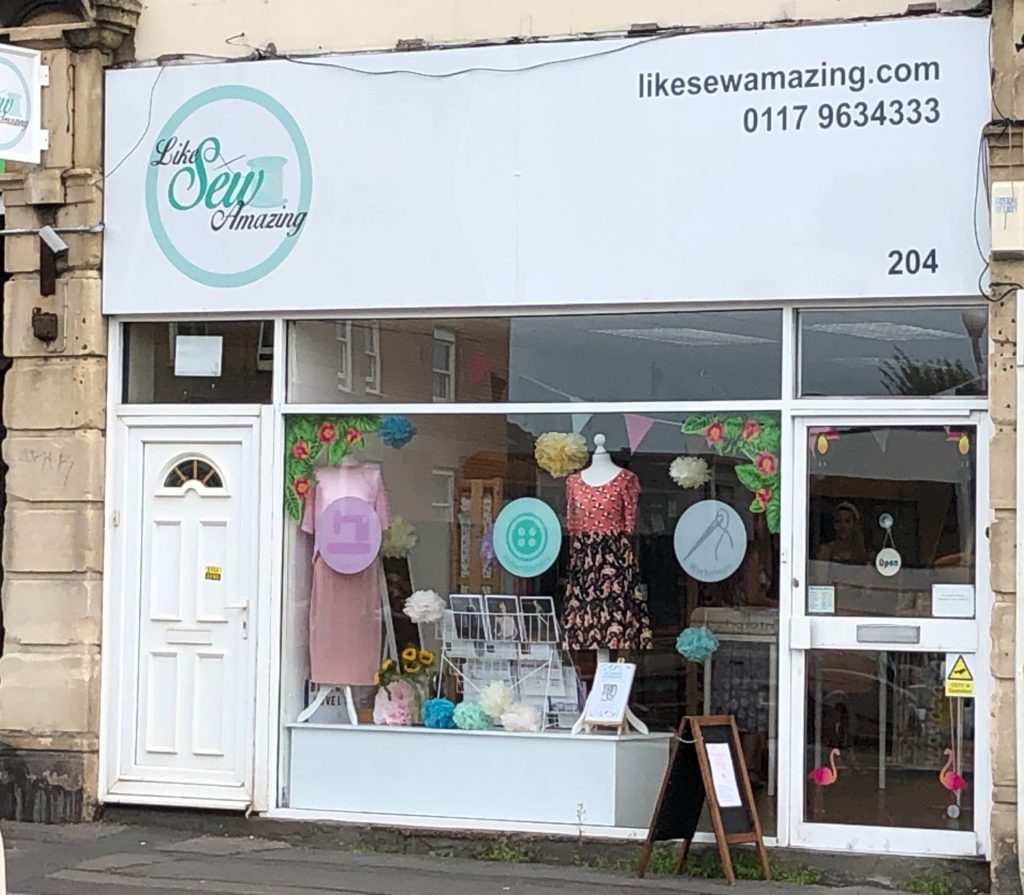
The course was held at Like Sew Amazing, a beautiful haberdashery in Bristol owned by Sarah. To be surrounded by beautiful fabrics whilst you learn is fabulous and it obviously gives you the chance to browse the fabrics during breaks – I may have even made a couple of sneaky purchases myself! Well, it would have been rude not to, right?!

Earlier this year I celebrated a special birthday and I had been looking for a course that I could ask my family to club together as a gift. When I saw this 2 day course advertised, I jumped at the chance to get a place – it was the perfect gift! To spend 2 whole days focusing on sewing and to take time out for myself felt really indulgent but boy was it worth it?!! To take time out and focus on yourself has so many benefits!
It felt amazing to have the protected time to dedicate to learning and to have the continuity over the weekend to really develop ideas and consolidate learning points. There were 7 of us on the course which was great – learning in a group environment is so much fun and really enhances the learning experience! To spend time with people who are equally obsessed by sewing is so refreshing – not only does it make it lots of fun, you can share ideas, inspiration and learn from each other.
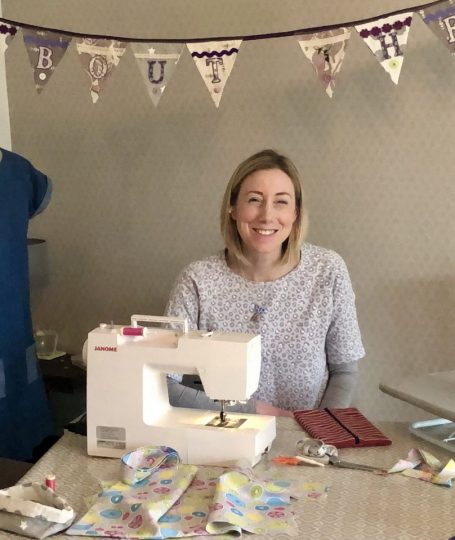
I absolutely loved being on the ‘other side’ of the learning process – to be the learner instead of the teacher- investing in my own knowledge and learning new skills is really important not just on a personal level but professionally as well. Of course the more I learn, the more I can teach my students and enhance my All About The Sew workshops!
Right let’s get to the actual course shall we?! Grab yourself a cuppa because you might need it!!
The course focusses on fitting techniques for different types of bodices. For those of you that don’t sew, this basically means the aim was to create as near perfect fit on the bodice section of a few different styles of bodices for ourselves – that’s the important part – these were to fit us and no-one else – the beauty of sewing your own clothes. This would then mean we had pattern pieces that we could use to make tops out of or combine with skirt, shorts or trouser pieces to create a whole host of garments, knowing that the top half would fit well. This can be so difficult for women to achieve with the obvious presence of certain body parts and just what different shapes and sizes we all are!! These are bodices designed to be made from woven fabrics which typically don’t have that much stretch. So gaining a good fit is crucial in order that it is comfortable and moves well with your body.
Sewing patterns are designed to fit an ‘average’ bust size so if you vary from this you will need to make some alterations to make it fit. But it’s not just the bust that varies – we all have different proportions of our shoulders, backs, necks, arms etc so it can get a little complicated! It’s all part of the challenge of making your own clothes to fit.
The bodice styles we worked on were a princess seam bodice, a darted bodice and some people also had time to do a bodice with grown on sleeves. We used the bodices for the By Hand London Elisalex dress, Holly jumpsuit and the Anna dress.
Day 1 was the princess seam bodice. We spent time taking accurate body measurements which is so important when you make your own clothes. We took into account what our upper bust measurement and full bust measurements were in order to establish our dressmaking cup size. As previously mentioned, most patterns are drafted to fit a B cup, which in dressmaking terms means there is a 2″ difference between your high bust and full bust. If there is a 1″ difference you are an A cup, 3″ difference C cup, 4″ difference D cup and so on. Then using the By Hand London body measurements chart we worked out which size to make. There followed the start of the weekend discussion about boobs, mountains, hills and everything in between!!!
So the massive revelation for me from the weekend is that as I only have a 1/2″ difference between my upper bust and full bust, my shoulders and upper chest area are actually proportionally quite big compared to my bust. I therefore ended up choosing a size based on my high bust measurement and doing a small bust adjustment (SBA). Who knew? I thought that SBAs were only for people with small busts overall. A revelation indeed! I’d never considered doing this before!!
Once we had identified what size to cut out and if we needed to do a Full Bust Adjustment (FBA) or a SBA, it was time to make toile number 1. A toile is a test garment made out of calico or cheaper fabric so that you can test the fit before cutting into your final fabric. We then tried on toile number 1 and Elisalex guided us through any other areas which were potential areas for adjustment and made suggestions on how to fix them. If this was the case, we made these adjustments to the pattern piece and then it was toile number 2 time and so on! The majority of people I would say needed 2 toiles to get a good fit but sometimes a 3rd toile was needed. As you can see this does mean it can be quite a lengthy process but hey – if you get a fantastically fitting garment at the end of it then surely it’s a no brainer right??!!
For my first toile I cut a size 14 throughout and did a SBA of 2″ total (1″ either side). The front bodice fitted well which was great.


The back bodice had some gaping over the shoulder blades which has been a problem in the past for me so I was excited to see the solution that Elisalex suggested.


The excess fabric was then pinched out, pinned, marked with a pen and measured to see how much fabric needed to be adjusted. The amount was 1/2″ each side. This adjustment was then made back onto the pattern piece in order for toile 2 to be made. It is so helpful having someone else to help assess the fit at the back of the garment as it can be really tricky to see exactly what is going on when you are twisting yourself round to look in the mirror!! I also lengthened the bodice by 5/8″ for the second toile.
I was so happy with my princess seam bodice – it felt so comfortable, like it almost wasn’t there!!! I immediately started dreaming about all the dresses I could make!!!! That was it for Day 1 – we were all shattered but so inspired by what we had learnt. It was a lot of information to take in but we took lots of photos of the teaching demos and were encouraged that this would all be reinforced on Day 2.
We started day 2 with the darted bodice with set in sleeves. This was the bodice for the Holly jumpsuit by By Hand London. We learnt about how to do a SBA and FBA for this bodice and also moving the bust apex on the pattern if needed. It made so much sense having these alterations demonstrated and being able to ask questions and gain clarification where needed – another reason why hands on workshops are so valuable.

For my first toile I did a SBA of 1″ each side (2″ total) as before. I also increased the length of the bodice by 3/4″ as it looked like it would come up too short. Through doing the SBA, the waist dart disappeared (magic!!) and the bust dart reduced in size.


Issues with toile #1 were:
- drag lines pointing towards the bust indicating a problem in that area. – too tight across the bust
- bust darts too high
- back neckline too high
- gaping at back neckline
- excess fabric above both back waist darts
- right shoulder seam sitting a little off my shoulder

Changes to toile #2:
- Reduce SBA to 1″ total (1/2″ both sides). This made the waist dart re-appear
- Lower bust darts (having transferred my bust apex point onto the new pattern piece and subsequently a new vanishing point for the new bust dart)
- Lower back neckline
- Remove 1/2″excess fabric both sides of centre back seam at neckline – this made the waist dart slightly bigger.
- Increase height of back waist darts by 3/4″
- Pinch out R shoulder seam slightly and re-sew.


I did manage to start the final bodice – the By Hand London Anna bodice and learnt how to do a SBA and FBA on this type of bodice but ran out of time to fully make up the first toile. I was so happy with what I had achieved in the 2 days and my brain was bursting with new knowledge and ideas for future projects!!


Photo credit: Sarah @likesewamazing
So there we have it (if you’ve made it this far then phew and congratulations!!). As you can probably tell I rather enjoyed myself!! I would highly recommend this course for anyone who is interested in improving the fit of their bodices. It is an intense weekend but the fact that there is a small group of you, means that there is a lot of support and encouragement within the group if anyone is flagging!! I cannot believe how much I have learnt from the weekend and literally cannot wait to make my first bodice up using my new patterns. I look forward to sharing them with you guys too!!

My first plans are to make the Elisalex dress with this fabulous space fabric I bought from Like Sew Amazing. Wish me luck!!!!!!!!


