The Grainline Studio Morris Blazer has been on my wish list to sew for a while. It also happened to be a work-in-progress project for quite a while too! And when I eventually finished it, it took me a long time to find the time to take some photos of it and blog about it.
I mean this is when I first started cutting it out – the end of November last year!!
Since setting up my sewing workshop business last year, I have had far less time to sew for myself which I knew would be the case but very frustrating all the same!! It is however, important to keep sewing for myself as not only do I continue to drive my passion for handmade clothes, it is important to continue progressing my skills in order that I can pass these on to my students.
I thought that this project would be definitely stretching my skills as it was my first blazer and is drafted to be made with stretch fabric instead of woven too which is always a bit more tricky! The blazer is classified as ‘advanced beginner’. I have seen some fab versions of the blazer on instagram and sewing blogs. Here are a few of my favourites: girls in the garden, what katie sews and what corinne did next. Something to live up to indeed!
The pattern, fabric and stretch interfacing were kindly sent to me by Sewessential for the purpose of this post. Even more pressure to do the fabric justice! The fabric I chose was a John Kaldor Roanne medium weight viscose nylon elastane jersey. You can see it on the site here. I’m really into grey at the moment and thought that grey would go with a lot of things. I thought the blazer would be good to wear when teaching my workshops – it has a smart/casual feel to it, it is super comfy and the jersey is really warm too. Since the jacket is unlined I planned to do Hong Kong seams on the inside of the jacket so chose some bright pink satin bias binding from the bull ring markets in Birmingham – more on the Hong Kong seams later!
Before I go into the deets here is the finished jacket:
The pattern instructions are fairly clear with illustrations to accompany although I did need to refer to their sew along for a couple of parts to get some clarification. I had to keep remembering that the seam allowances were 1/2″ in this pattern, not your standard 5/8″ that is used in lots of patterns.
Let’s look at the Hong Kong seams then. The Hong Kong seam finish is just one way of finishing off the raw edges of seams on the inside of garments and are particularly useful in unlined garments like jackets when the seams will be visible when you take the jacket on and off. Lucy and Angela at Sewessential have done a great blog post with some great pictures on different seam finishes including Hong Kong seams.
Here is what I did:


Doesn’t the Hong Kong seam finish look great? I really got into the swing of it after the first one and found it quite therapeutic – if a little more time consuming, but so worth it!
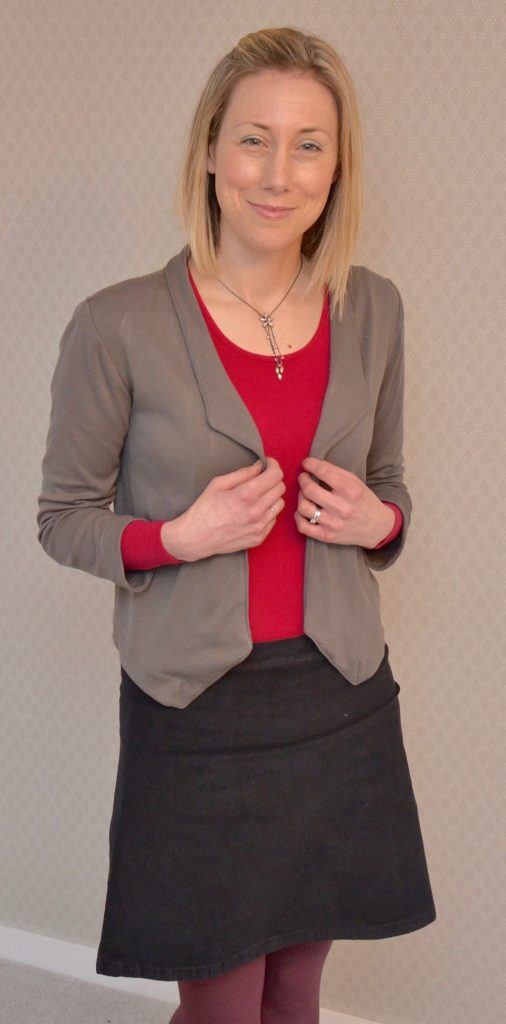
Here are pictures of the final blazer:

Let’s finish with one with a bit more colour in my cheeks!
To finish off I would definitely recommend to give this jacket a go. I would love to do another one – I would make it a fraction longer, experiment with the fabrics, and definitely do Hong Kong seam finishes again – I love them! I think I also stretched out the front lapels whilst doing the top stitching along the edge so I need a bit more practice with this technique on stretch fabric.
Until next time
Happy Sewing
Lorna x
Although this pattern and fabric were given to me by Sew Essential for this blog post, all views are entirely my own.


