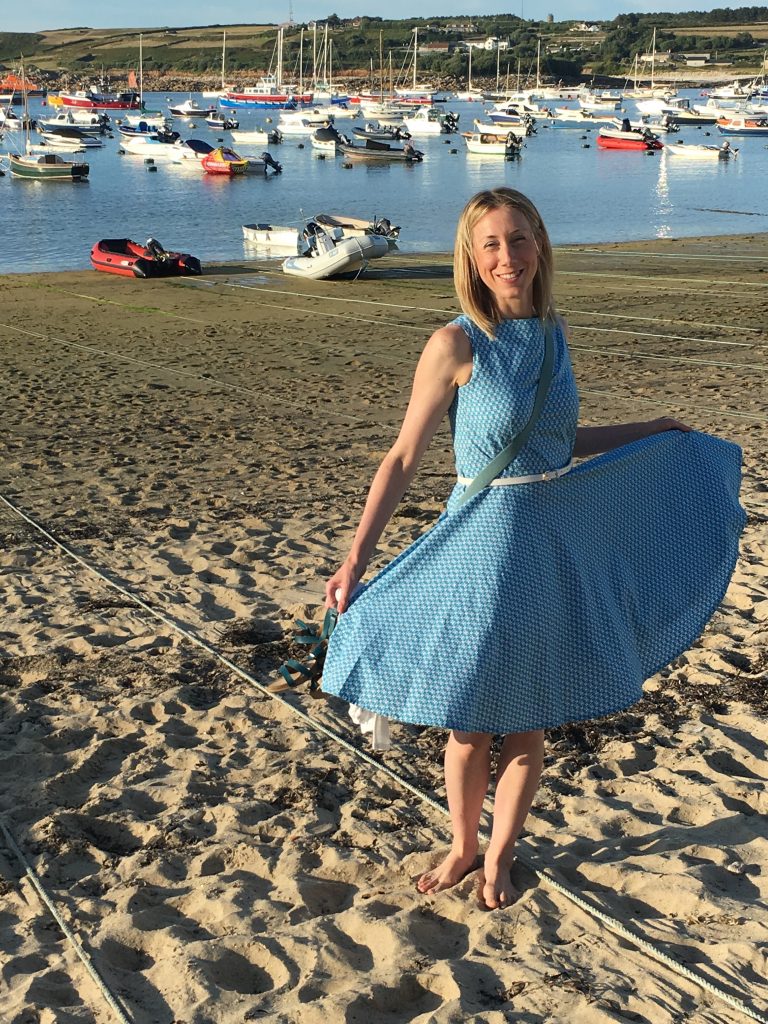
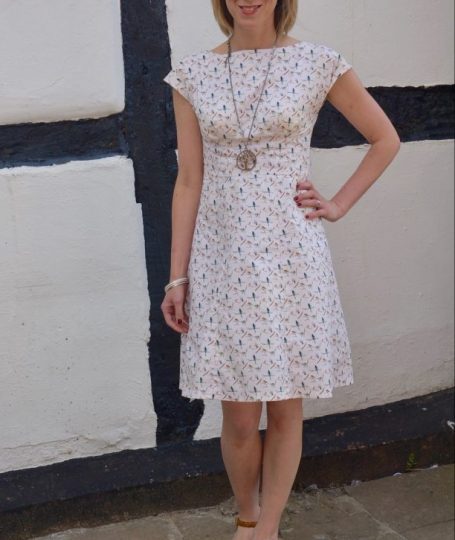
The Love Sewing Ruby dress was a free pattern with issue 4 of the magazine and has been one of it’s most popular patterns. It is one of the Simple sew pattern ranges. I believe it became out of stock the first time as it was that popular. I remember seeing lots of versions being posted on blogs and social media – in fact there still is now! I bought the pattern when I visited the Love Sewing stall at one of the NEC shows last year when they had had a reprint so was really looking forward to making it. I think I bought the fabric from John Lewis – when I saw it I loved it and thought it would be perfect for this dress.


I started making this dress last Summer, in fact a little late for it to be worn and enjoyed. I did wear it once but I wasn’t quite happy with the fit at the back and then the Autumn came so the dress was resigned to the WIP (work-in-progress) pile under the sewing table and was forgotten about! A month or so ago I remembered it was there and I made the alterations to the back and hey presto a brand new dress that was ready to wear within an hour or so!!
Comparing my measurements to the size chart I was a size 10 bust, size 14 waist and size 8 hips! I definitely needed to make a toile! I’m glad I did this as it did need a couple of alterations.
By placing the bodice piece up against me I knew it was going to be too short so I increased the length of the bodice by 2cm by adding it onto the bottom. I wasn’t sure though where I wanted the waist line to sit for it to be most flattering – another reason to make the toile. After lengthening the bodice pieces I simply extended the waist dart to the bottom by 2cm. However, once I had sewn the darts, the top of the waist dart was bang on the centre of the bust/bust apex (or cherry on the cake as a sewing tutor of mine described it!!). This will give you the unwanted ‘Madonna’ pointy effect and the dart won’t lie flat around the bust.
The tip of the dart should be at least 1″ from the bust apex but of course that will vary from person to person and will not become evident until you make the toile. I therefore shifted the whole dart down by 2cm and found it difficult to get the right shape for the dart so I reduced the size of it by 1cm each side. I’m not sure if this is the correct way to do it but it seemed to look ok!
The below picture shows the right waist dart (model’s right) before the alteration and the left waist dart (model’s left) after the alteration. The left waist dart finishes slightly lower down and contours the bust better.
I then made the skirt section of the toile. Sometimes this isn’t necessary but I wanted to make sure I got the length right and also check the proportions of the bodice and skirt against each other – where the waistline would sit.
I decided to increase the length of the dress by quite a bit – 9cm was the maximum I could do this with the fabric I had left. It’s a circle skirt so requires quite a bit of fabric! I made a note to do a 1cm seam allowance at the waist to maximise the length too.
The instructions were relatively easy to follow. The one thing it doesn’t say on the pattern envelope is what type and size zip to buy. I googled this and found other people had the same problem. The consensus was a 16″ concealed zip. It has been updated online since and recommends an 18″ concealed zip.
So the finished dress, let’s see it…
I ended up taking it in at the sides by 2cm each side once completed for a more fitted fit.
After I finished the main dress last year I wasn’t happy with how the back of the bodice fitted over my shoulder blades. It gaped quite a bit so didn’t lie flat. I didn’t really appreciate this at the time from the toile, I think I did put a zip in (can’t quite remember!) but it is a shame as the alterations I made could have been done at the toile stage. Nevermind!
To try and alter this once it was sewn up and the facings in place would have required a fair amount of unpicking. I had a play around and decided to cheat by adding a pleat in and top stitching it down.
Hopefully you can what I have done on the left side (or hopefully not!!) – on the left bodice section near the bottom angle of my shoulder blade I have added a pleat. It makes it lie against my shoulder blades much better and you can see how it fits over my shoulder so much better. I did the same on the other side so it kind of looks like a design feature!! That’s my excuse and I’m sticking to it!
I am disappointed that the pattern doesn’t recommend you use under-stitching around the neckline to help it lie really flat and am even more disappointed that I didn’t think to do that anyway. I will definitely do this next time.
As I mentioned the skirt is a circle skirt which means…yes…lots of twirling action!!!! Yippee!

The pattern instructions say to finish the hem with a double folded hem and machine stitch. I remember being in awe of Beth of the After Dark Sewing blog, seeing that she hand stitched the whole hem – this must have taken ages!! I really didn’t want to make the dress any shorter by using a double folded hem so I decided to finish the hem using bias binding. You can see a little picture tutorial of this method here and a couple of pics from mine below.


Bias binding can either be shop bought or you can make your own which is fantastic as you can choose what fabric to make it from. I made mine from the same fabric as the dress. I used the continuous bias binding method as I used in a previous blog post here. I used a combination of fab tutorials from collette and sew4home. It means you only need a relatively small square of fabric but you do end up with more ‘joins’ in the fabric. Still, a great way of using up leftovers.
For the first time I used a bias binding maker which is a little gadget you can use to thread the cut strips of fabric through and it very cleverly folds the 2 edges together as you pull the strip through. With your iron at the ready you can iron the folds in place and your bias binding is ready to go!
And one last one to finish with…:)
I would definitely recommend this dress to make – I love the full circle skirt and the v neck bodice back. Word of warning though – you do need to be careful on a windy day!
Until next time…
Happy Sewing!
Lorna x


Lovely dress, it looks fab on and I wouldn’t of known there were pleats in the back if you hadn’t of said. It’s so lovely to a have dress to twirl and swish around in. It’s great to see this made up as it sat in my stash.
Ah thanks Lynsey. That’s what I love about sewing blogs – seeing what other people have made and what it looks like made up. 🙂
Looks lovely
Thank you Debby 🙂